|
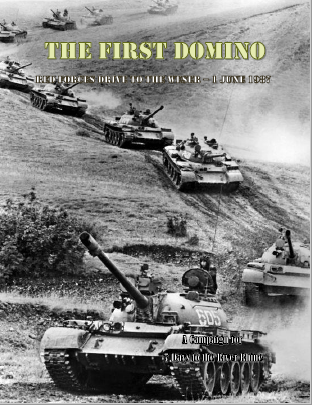
We played the above scenario which is the fifth table in the excellent "The First Domino" campaign by Stephen Philip available for free on the Seven Days to the River Rhine Official Facebook group
|
|
(https://www.facebook.com/groups/322288738401773).
So far in the campaign the Soviets had steamrollered the German reservists and BAOR reinforcements on the first three tables before being slowed and eventually stalled at the Kanal Defence Line where the troops of I (British) Corps gave the attached Royal Engineers enough time to blow all three bridges (although this cost NATO all of the campaign points built up in the previous games).
Looking at the table both myself (as NATO) and Tim (as the Soviets) were horrified at how open it was with only the wood to the north being a likely approach route.
Both sides spent the week leading up to the battle revising their selections, then revising them and revising again. The Brits again spent their entire stock of 4 campaign points to bolster their forces from 600 to 720 points of units taking a solid core of three Challengers and a Chieftain Mk9 with TOGS supported by three FV432Ms to lay smoke (meaning I could cover the battlefield with smoke that the tanks could ignore with their thermal sights). To help defend the farm a foot infantry platoon also started on the table (with an attached Milan team to the south). In reserve were a pair of Scorpions, a Striker and an infantry section in a 432. Starting off table was a Lynx with it's deadly TOW missiles. Two Challengers and the Milan team were deployed to cover the south while the remainder covered the woods and the buildings
Tim went for a very distinctive force with a VDV based force with two full platoons with Saxhorn missile teams in support riding in BMD-2 APCs and so many ASU85s that NATO were heard to comment that the entire 76th Guards Air-Landing Division was arriving (in fact there were so many that we had to proxy with World War Two era ISUs and Stugs). In addition a couple of BRDM2 scout cars and Tim's favourite a pair of 2S( Nona SP mortars. The Soviet plan being to move the infantry as fast as possible through the woods to get as close as possible to the NATO positions before bringing on the massed ASUs spread along their table edge.
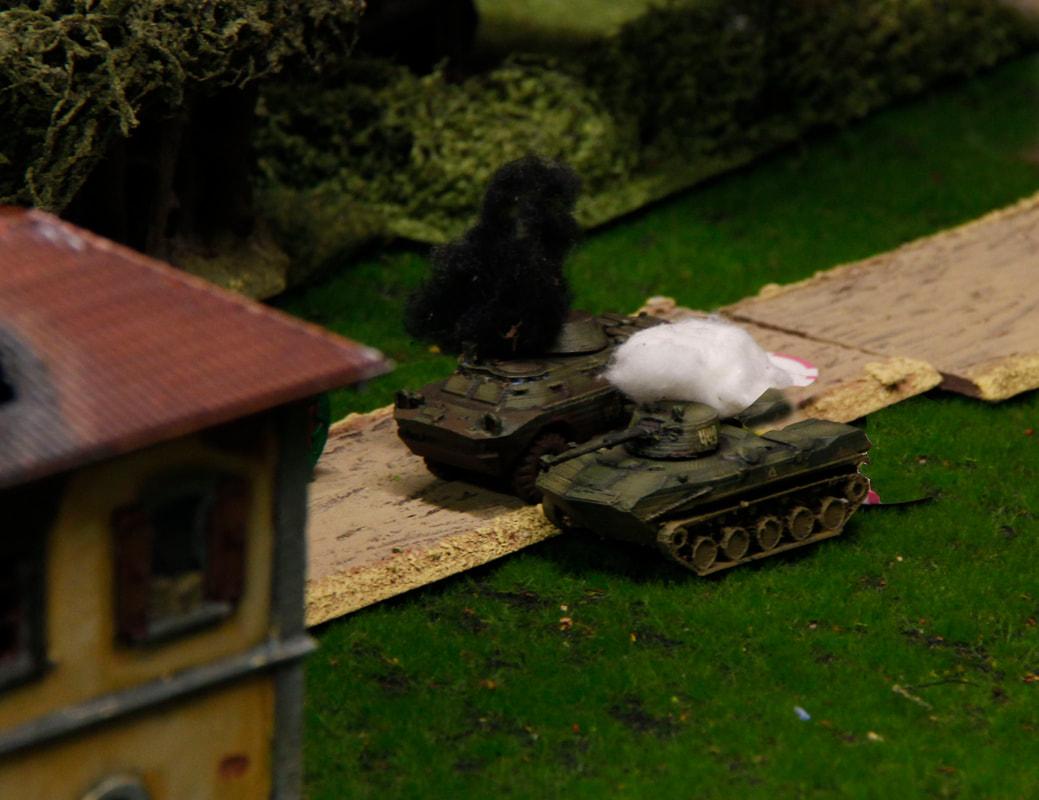
The game had a decent start for NATO, the two Soviet units in the open (above) died in the opening volleys and a little while later a Saxhorn team died under a volley of 120mm HE rounds. A lone BRDM-2 (the sole Soviet force outsides of the wood) hid behind a wall and was ignored by NATO (mainly as Tim had very realistically placed it behind as much cover as he could as it wasn't likely to be able to do much against two Challengers!). The Soviets did have one stroke of luck when one of the Challengers suffered a break down of it's TOGS thermal sight (Tim has created a lot of extra random event cards and a system to allow them to be filtered into the game slowly). On the other hand the Chobham armour of the Challengers was becoming a big thorn in the Soviet side with Saxhorn missiles having to roll two dice to damage and choosing the lowest when they hit (the loss of the second team meaning overwhelming a Challenger with morale tokens was no longer a viable tactic).
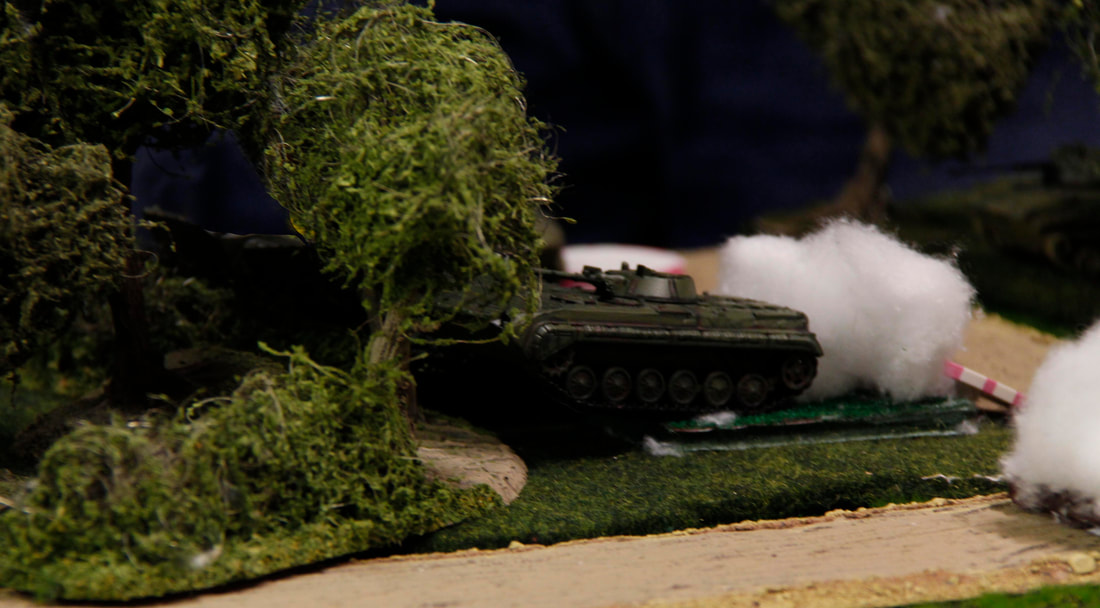
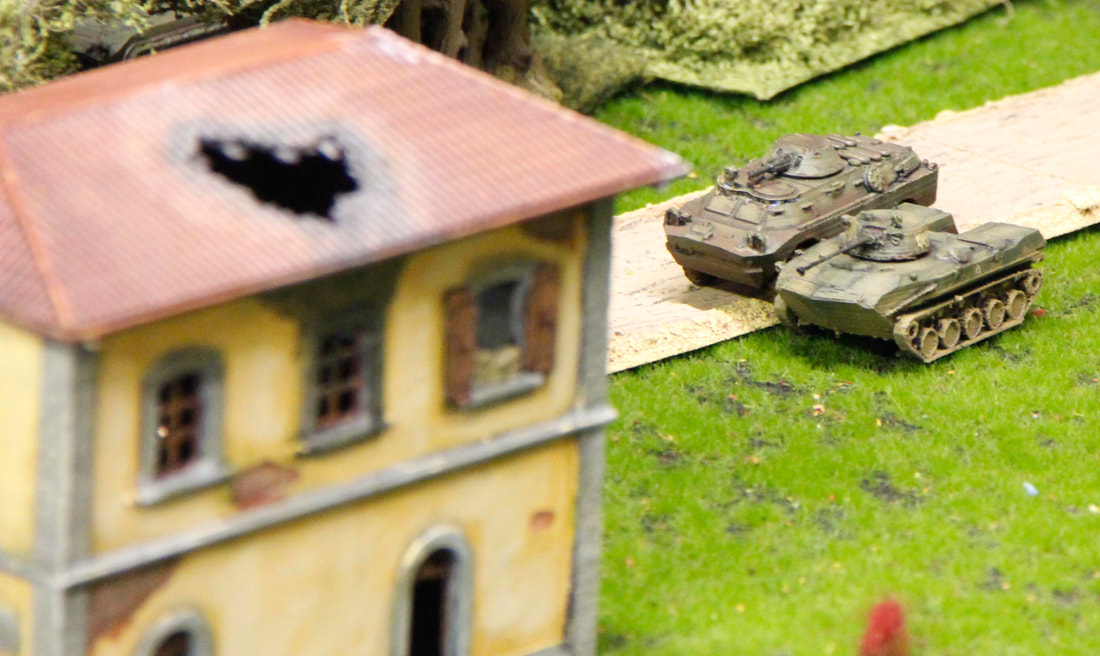
A BMP proxying as a BMD moves up through the woods
As the Soviets moved up through the woods, they seemed to have discovered very rough going with the dice constantly rolling 1s and bogging down the APCS. Gradually it dawned on the Soviets this flanking attack was going too slowly and as the infantry crawled forward and NATO brought on it's reserves and moved to pound anything that eventually emerged.
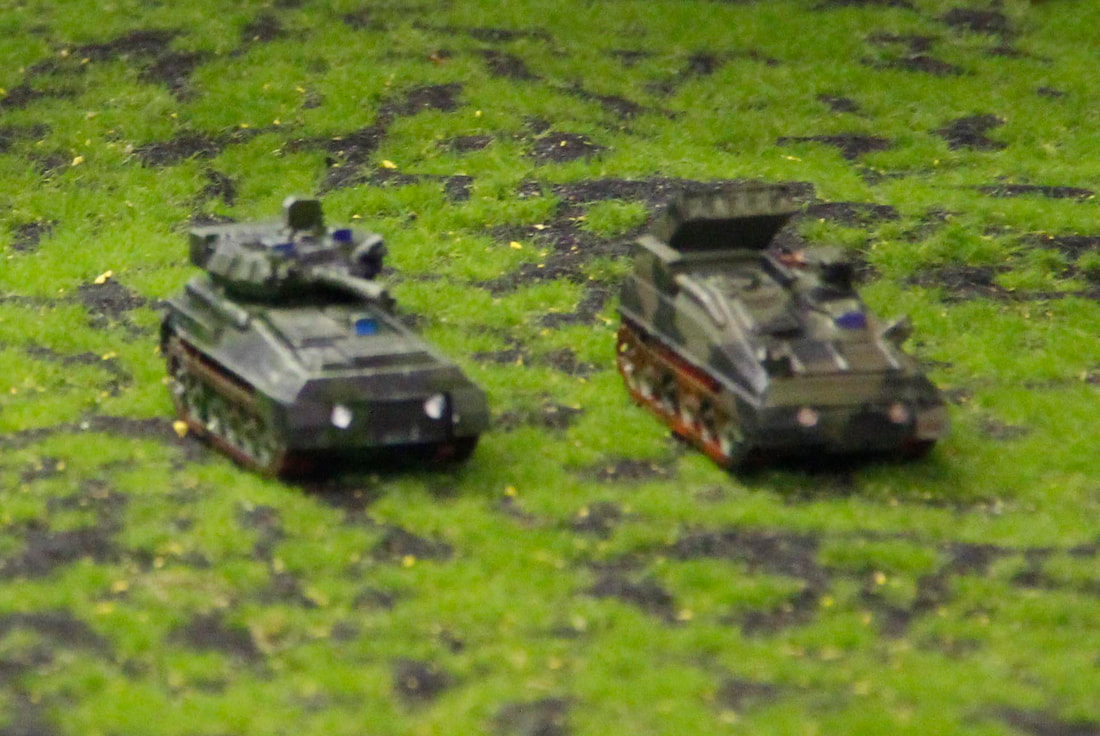
At this point the Soviets went all in with the massed ASU85s moving onto the table, Two two NATO vehicles in the open (the Scorpion and Striker above) died quickly but in nowhere near the numbers that the ASUs were dying to 120mm APFDS (which was so effective that NATO discarded the depleted uranium ammo card to keep their hand down to size), Lynx TOW missiles and a Milan missile (plus some damage being inflicted by a Scirpion's 76mm HESH round). The tank graveyard was horrific and at this point the Soviets threw in the towel.
End result a clear NATO victory helped tremendously by a mismatch of forces (I have to admit a massive sigh of relief here as I very nearly chose an infantry heavy force that would have struggled against Tim's choice - ironically he had thought I would and optimised for this). I had expected a large infantry force in the woods but had expected either MBTs and/or Hinds to support.
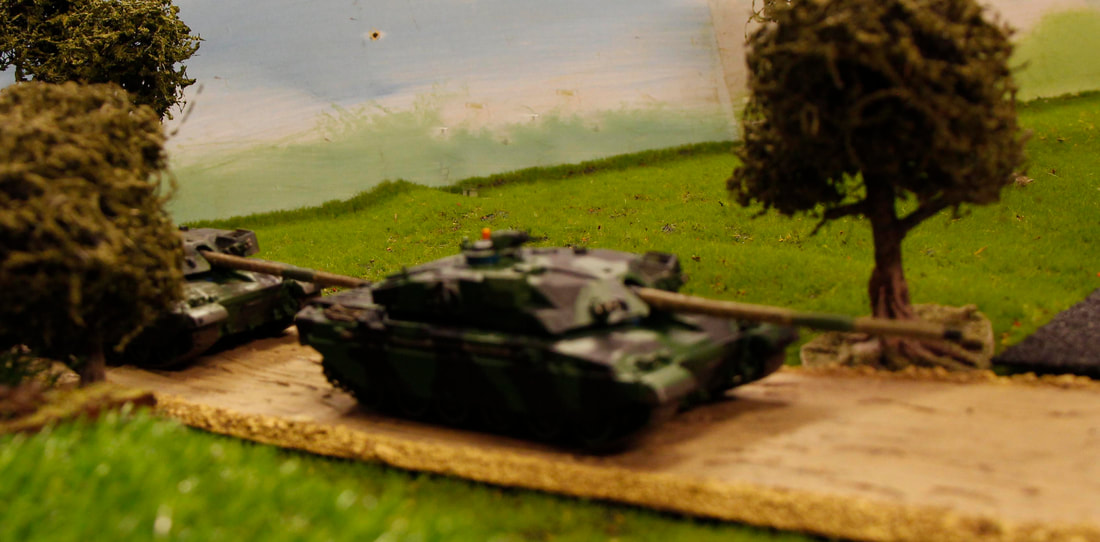
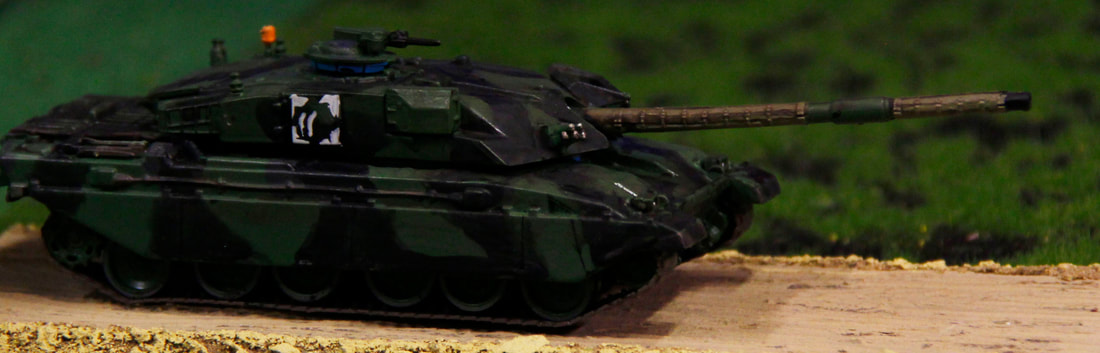
The man of the match, the Challenger 1 with it's invulnerability to ASU85 fire.
What did we take away from the game:
* Challengers are vicious, a deadly gun and almost invulnerable.
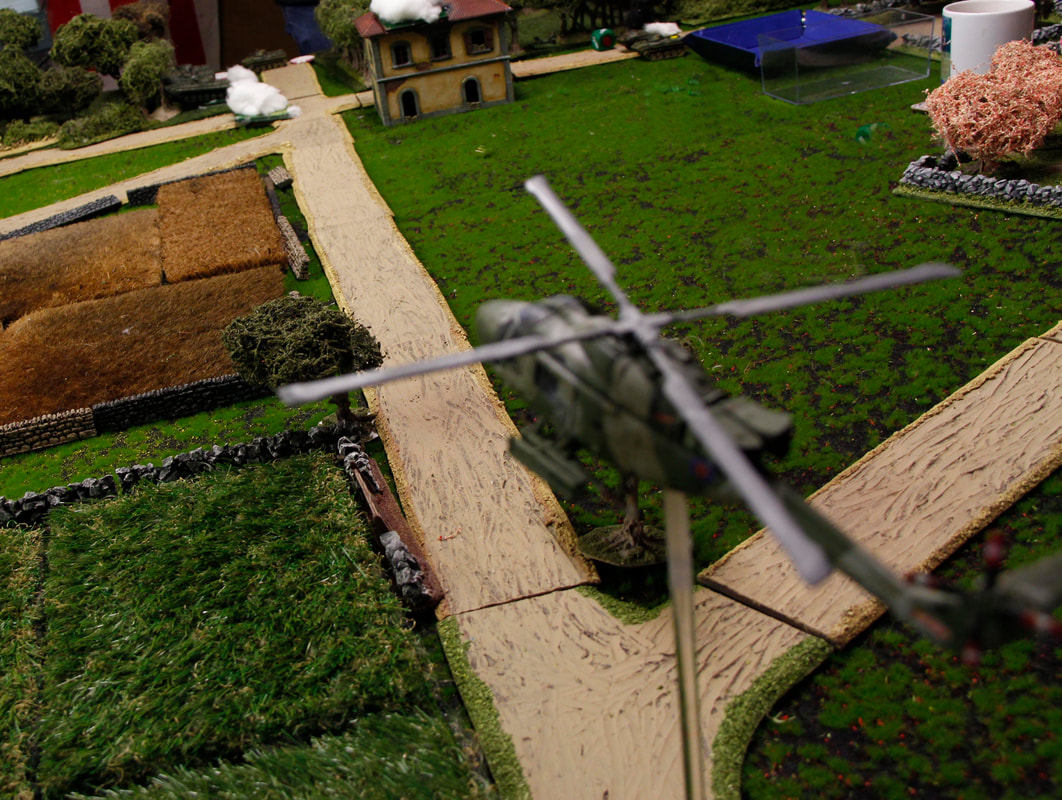
* Helicopters can be very effective, especially when you opponent is out of command chits or has no MANPADs or dedicated AA in sight.
* If you are in the open you die (unless you are a Challenger).
* Thermal sights are very useful (especially as we used Tim's rules for laying smoke), possibly too powerful.
* Challengers are vicious, a deadly gun and almost invulnerable.
* Helicopters can be very effective, especially when you opponent is out of command chits or has no MANPADs or dedicated AA in sight.
* If you are in the open you die (unless you are a Challenger).
* Thermal sights are very useful (especially as we used Tim's rules for laying smoke), possibly too powerful.
As a result of this the next battle will be a meeting engagement on the same table as NATO forces throw in more troops to deal with the follow on Soviet forces.
